The Opportunity
Do you care about who gets an opportunity to make?
Are you interested in organizing events that range from crafting to beginner 3D printing?
Can you translate a creative idea into a well-run, inclusive event? A series of events??
Are you ready to learn new creative technologies…and then help other beginners learn them too?
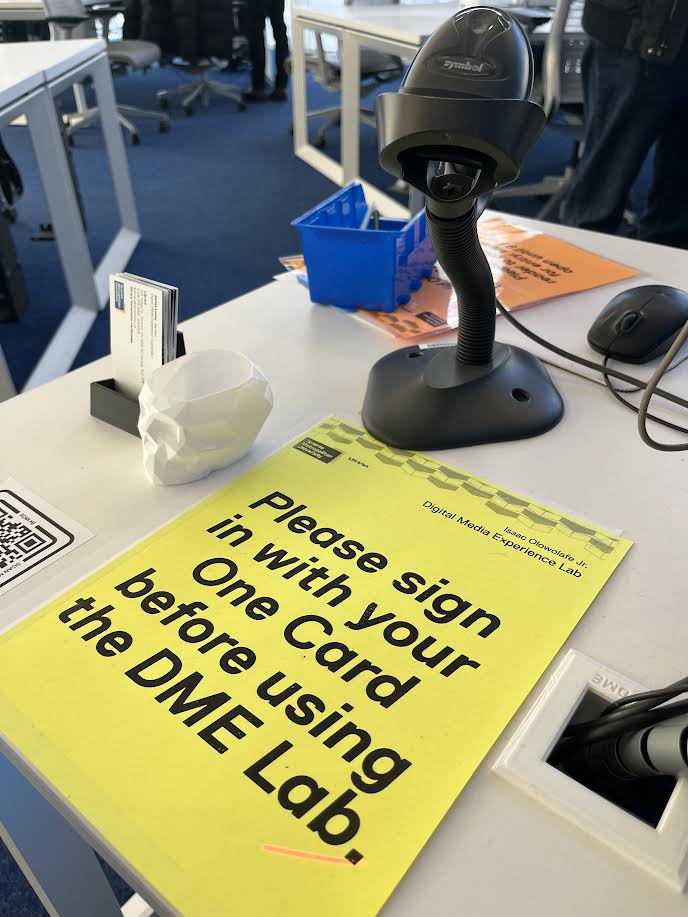
The Libraries’ Digital Media Experience (DME) is hiring an Evening Engagement Specialist to help us welcome new users into our Library Creative space, the DME Lab. This role will be a member of our DME team, who deliver engaging, student-focused workshops in our Library Makerspace and Media Creation Studio.
This unique part-time role combines creative technology with peer-to-peer technology training. Ideal candidates shortlisted for an interview shall demonstrate a strong ability to support peer-led co-curricular learning while contributing to lab operations.
In this role, you will:
- Plan and facilitate short, hands-on, themed making events with equity and access in mind.
- Collaborate with student groups to reduce barriers to participation with creative technologies.
- Engage new makers and underrepresented communities inside the DME space (SLC 308).
- Collaborate with the DME team in a project-based environment, one where goals are “fuzzy” and iterations are essential.
- Learn (and demonstrate!) makerspace safety practices, tools, and tech (training time will be included in your first two weeks of work).
- Communicate event information clearly for our audience of first-time Creators and other TMU collaborators / student groups..
This is a paid opportunity for a TMU student seeking to build community through creativity, increase technology access, and develop their own creative technology skills.
About Toronto Metropolitan University
At the intersection of mind and action, Toronto Met is on a transformative path to becoming Canada’s leading comprehensive innovation university. Integral to this path is the placement of equity, diversity and inclusion as fundamental to our institutional culture. Our current academic plan outlines each as core values and we work to embed them in all that we do.
We welcome those who have demonstrated a commitment to upholding the values of equity, diversity, and inclusion and will assist us to expand our capacity for diversity in the broadest sense. In addition, to correct the conditions of disadvantage in employment in Canada, we encourage applications from members of groups that have been historically disadvantaged and marginalized, including First Nations, Metis and Inuit peoples, Indigenous peoples of North America, racialized persons, persons with disabilities, and those who identify as women and/or 2SLGBTQ+. Please note that all qualified candidates are encouraged to apply; however, applications from Canadians and permanent residents will be given priority.
In April 2022, the university announced our new name of Toronto Metropolitan University, which will be implemented in a phased approach. Learn more about our next chapter.
About the TMU Libraries
A vibrant and innovative centre of exploration, research, creation and learning, the University Library is positioned at the core of the University’s academic, research and community engagement goals. The Library supports a diverse community of learners and instructors, researchers and scholars, and community experts and entrepreneurs, and is a hub of interdisciplinary SRC. The dedicated team of more than 100 talented individuals supports a growing academic community, including new campuses and a growing number of international students. The University Library provides crucial academic learning, creation and research resources, programs, services and spaces. Its unique blend of expertise and programming, coupled with access to leading edge technology and an array of information resources, fosters a rich academic environment, supporting the University’s complement of degree programs, and advancing research and discovery, and community outreach and engagement.
About the DME Evening Engagement Specialist Role
After training, all Advising Specialists will be expected to deliver beginner-level sessions on soldering, sewing machine fundamentals, Arduino basics, 3D modelling in Fusion 360, Adobe PhotoShop, Adobe Illustrator, and Adobe Premiere.
Digital Media Creation
- Media Production (audio recording, photography, green screen studios, 3-point lighting kits, 3D scanning…)
- Media Post Production (Audio Editing workflows, Video Editing workflows, Animation, VR editing,…)
- Imaging (Adobe PhotoShop, Adobe Illustrator,…)
- Web design and development (WordPress, HTML5, CSS,…)
- Coding (Python, Arduino IDE, Javascript, bash scripting…)
- IoT (Grafana, InfluxDB, Node-Red,…)
- Microprocessors (Arduino, ESP32, Raspberry Pi,…)
Fabrication Technology
- Additive manufacturing techniques (FDM 3D printers, embroidery machines,…)
- Subtractive manufacturing techniques (laser cutters, vinyl cutters,…)
- Textiles (sewing machines, knitting, crocheting, sewing conductive thread…)
- Hand tools (drills, saws, clamps,…)
- 3D modelling / CAD (TinkerCAD, Fusion 360, Blender,…)
Responsibilities
As part of the lab programming and advising team, you will support the lab in the following areas:
Organizing Events and Workshops
- Developing and delivering innovative technology training. This includes offering 2-3 formal workshops per week.
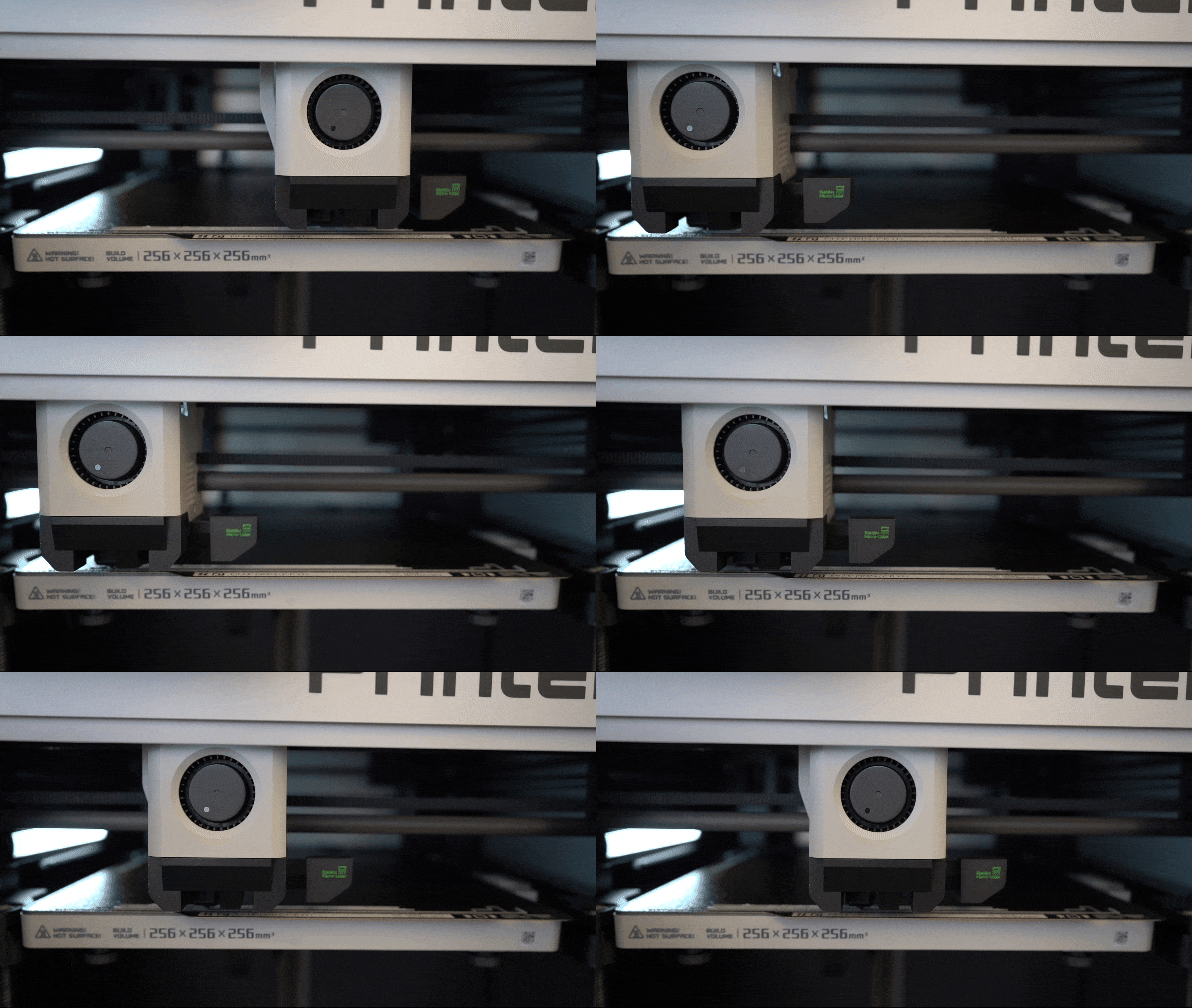
- Providing exceptional makerspace technology support services (scheduled and drop-in one-on-one tutoring) offered to full-time and part-time TMU students using DME-supported hardware (Cricut, Prusa Mk3+ 3D printers, Glowforge laser cutter, IoT / electronics, sewing machines, cameras, microphones,…) and software (full Adobe CC suite, Arduino, Processing, Python 3,…).
- Identifying unmet training opportunities and proposing new training opportunities (one-off workshops, recurring workshops, informal express workshops) based on your shift observations.
- Assisting full-time staff in the development of equipment certifications that permit learners to measure their learning progress.
Lab Operations
- Applying standard lab practices and procedures (I.e., opening and closing checklists, health and safety protocols, Library practices) in order to sustain a safe, organized and welcoming makerspace.
- Maintaining lab equipment and proposing improvements to existing technology workflows.
- Documenting process work using an internal knowledge-base.
- Communicating with patrons and coworkers during shift hours. Identify unmet needs in the lab and communicate these to the manager.
Assisting the DME Manager and Libraries staff with special projects, collaborations, and other duties, as assigned.
Skills and Competencies
To be successful in this role, candidates should have:
- A strong track record of punctuality and time management skills.
- Exceptional customer service experience.
- User-centred professional communication skills (written and verbal).
- Organizational systems for completing complex and changing projects.
- Project documentation skills.
- A deep appreciation for equity, diversity and inclusion.
- An enthusiasm for learning creative technologies in a fast-paced Lab environment.
- Curiosity.
How to Apply
Full-time undergraduate students in good academic standing are invited to apply for this job competition. Application packages should be submitted through our application form before September 5 at 1 PM. Each package must include:
- [ ] In lieu of a cover letter, we are asking applicants to record a brief video / audio recording:
- Per the prompt, applicants should outline how they would use their experiences to help the DME create a series of evening events.
- [ ] A resume.
- [ ] 2-3 references.
- [ ] A portfolio or selection of 3-5 works relevant to your application (these do not need to be high technology).
Additional Notes
Candidates must have a demonstrated record of dependability/reliability and a commitment to maintain confidentiality.
We encourage all First Nations, Metis and Inuit peoples or Indigenous peoples of North America, to self-identify in their applications.
As part of the selection process, candidates may be required to complete an occupational assessment.
Applications will only be accepted online.
Toronto Metropolitan University is committed to the principles of the Accessibility for Ontarians with Disabilities Act (AODA), and aims to ensure that independence, dignity, integration and equality of opportunity are embedded in all aspects of the university culture.
We will provide an accessible experience for applicants, students, employees, and members of the Toronto Metropolitan University community. We are committed to providing an inclusive and barrier-free work environment, starting with the recruitment process. If you have restrictions that need to be accommodated to fully participate in any phase of the recruitment process, please submit your request through the AskHR webform. All information received in relation to accommodation will be kept confidential.


